Tuesday, May 7, 2013

Candid Camera


At a recent train show in York, PA, a fellow hi-rail modeler asked me what I thought was the most essential tool in my toolbox. Without hesitation I responded, “A point-and-shoot camera.”
When I’m out and about, regardless if I’m actually railfanning, I rely on my p&S (or iPad camera) to capture quick images of real (1:1 scale) trains and interesting places/people I want to model on my layout. These resulting images are rarely publication-quality, but they’re regularly the most valuable photos I shoot. Valuable? Yep, valuable!
Take for instance the simple image of a Canadian Pacific target signal I shot from a back alley in downtown (Gastown) Vancouver, B.C. Won’t find a single choo-choo in the frame, but the wealth of detail in this one image has fueled my recent efforts to revamp and enhance portions of my completed Waterfront Yard – starting with the signal featuring trimmed targets.
It turns out the real signal was modified to permit West Coast Express bi-level commuter trains to pass without issue. By studying the photo, I saw the MTH no. 30-11025 1-over-1 signal had a very similar appearance, even without altering the targets. Next, I saw the chain link fence resembled O scale fencing sold by Scenic Express or kits produced by Brennan’s Model Railroading Products. Barricades and concrete jersey barriers reminded me of items from Model Tech Studios or Saint Charles Model Works. The more I studied the pix, the more items I found and installed -- as I demonstrated for a forthcoming article in the pages of Classic Toy Trains magazine.

Without my essential tool, it would have taken me countless trips (as of today, a R/T tix between MKE and YVR costs more than $700) to recall a fraction of the details contained in a one free, yet priceless, photo!

Friday, January 18, 2013

Nearly completed Canyon

With the temperature promising to dip into the sub-zero range next week, I figure it's time to retreat into a warm basement and finish up a few loose ends on my Canyon scene. While space is narrow along this section, there was still plenty of room to add detailed rock faces and foreground scenery. For details how I assembled the components in this area, be sure to check out the feature I wrote for the March 2013 issue of Classic Toy Trains magazine.

Friday, August 3, 2012

Dog days of summer

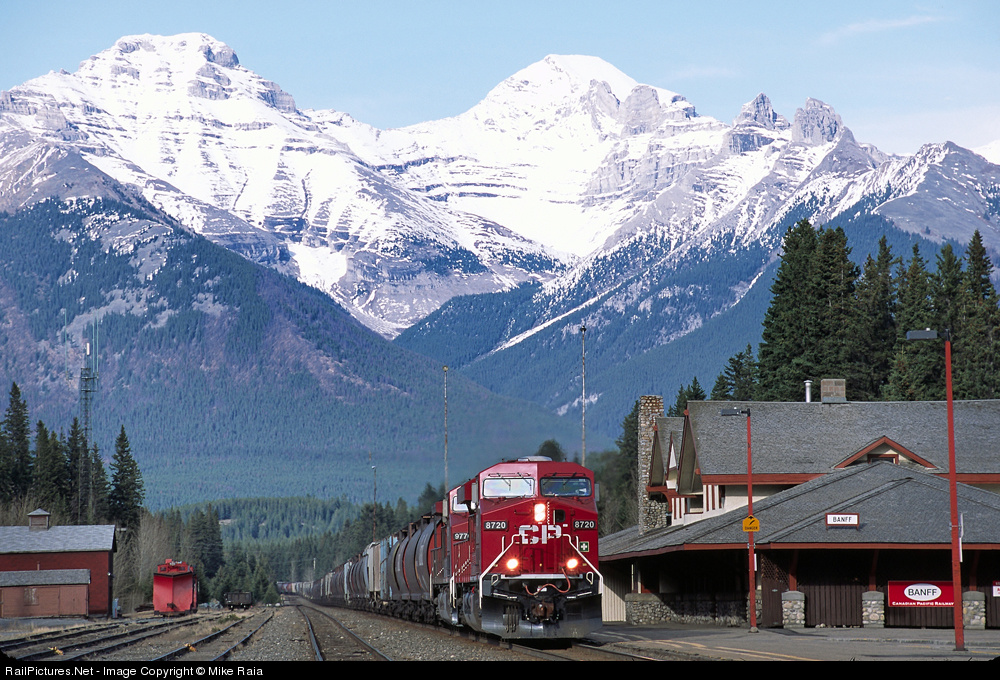
Summer has all but passed me by, and I've hardly got anything new to show on my basement layout. though I could use the excuse that my outdoor Large-scale railway is receiving my attention during this extended dry spell of 2012, I've just been into other family activities lately. That said, I was motivated enough to craft and complete one new mountain scene (based on sights in/around Banff, ALB) on my O gauge pike this summer -- here's a quick clip to prove trains still DO run in my basement!

Wednesday, January 18, 2012

Dark Canyon action

Even in the midst of scenery construction, CN and CP trains slowly make their way (video captured on my iPad -- thanks Santa!) through my latest effort to build out the Dark Canyon area of my layout. Think I'll be tired of seeing pink insulation board by the time I'm done with this! Gotta say that I'm sure glad the good folks at Woodland Scenics in Linn Creek, Mo., are safe and sound. Also good to know that their Foam Putty and Profile Boards are still in production -- I've gone through 10 or more small tubs of the putty thus far!

Friday, January 6, 2012

Canyon re-creation


When my friend and noted Model Railroader contributor (see the December 2011 issue) Mike Danneman sent me a railroad photo he captured along the Thompson River in British Columbia, I immediately knew it was something I wanted to model on my layout. Trouble was, I had no idea how to build the craggy rock formation.
Foam has long been my friend when it comes to building other massive rock wall formations, but the defined vertical orientation didn’t seem to fit my typical technique of laminating 2-inch-thick insulation board in a vertical arrangement.
After putting some thought to the matter, I stumbled upon the idea of working with Woodland Scenics no. ST1419 foam profile boards. These tongue and groove boards are intend to be situated horizontally, but when turned on end they sure seem to match the rock strata I wanted. To achieve the appearance of depth in a shallow space against the hardboard backdrop, I used carpenter’s wood glue to assemble varying layers of profile boards with ½–inch and 2-inch foam board. After roughing in the formations, I applied Woodland Scenics no. ST1447 foam putty in copious amounts!
I won’t complete all of my canyon scenery using this method, but here the pre-fab grooves sure saved me a ton of time.

Tuesday, June 14, 2011

Canadian Pacific domed observation car

So now that I’ve acquired a fine set of Lionel no. 34582 Canadian Pacific F units, I wanted to add something exceptional to my executive train. While the obvious choice would be to simply purchase the complementary set of Lionel no. 25600 streamlined passenger cars, I couldn’t justify the expenditure.
Instead, I opted to customize my own low budget Canadian Pacific domed observation car with a bit more detail than a standard issue postwar streamliner. I started with an older Williams observation car that I bought at a swap meet for $15. I found the repro “Canadian Pacific” stripes, a repro vista dome, and K-Line rubber diaphragms at another show. Using a razor saw, Dremel rotary tool, and a file, I was able to cut a perfectly sized opening into the aluminum roof and insert the dome I tinted with Tamiya X-25 Clear Green paint. I finished the car by adding LED bulbs to the interior, wipers to the dome, and O scale metal grab irons and vents along the roof.
As the story goes, the real CPR ordered one or more special Lionel no. 2551 domed obs cars to display in Canadian Pacific resort hotels across Canada. I’ve never seen or heard of any paperwork that confirms this is true, but I’ve seen photos of a no. 2551 custom car/display supposedly made by Lionel.